How to Export Images for CD Burning
If you have a lot of images that you want to quickly prepare for CD Burning and data duplication, an easy solution is to batch edit and export your photos using Photoshop.
Here's an easy tutorial to guide you through the entire process:

 1. Batch editing
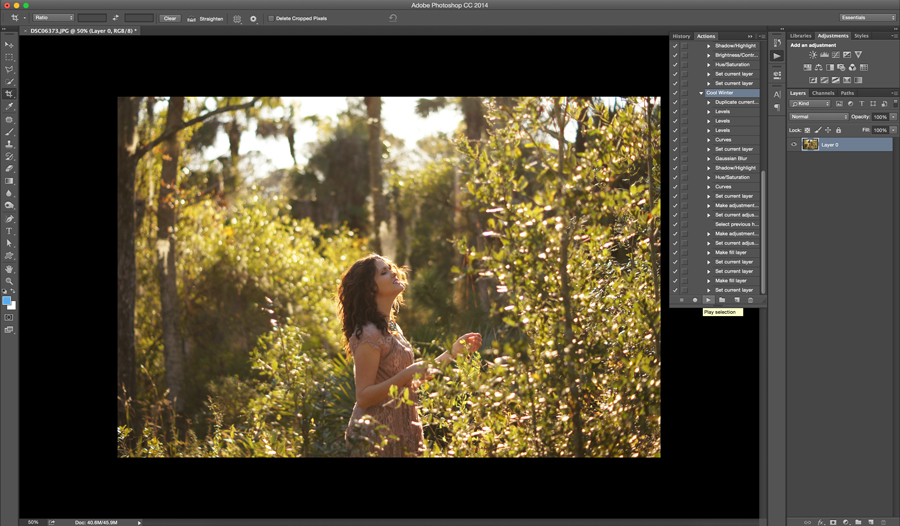
One of the fastest ways to edit images is with actions. Actions are batched operations that you can create or download. They run your images through pre-programmed post-processing steps, saving time and energy.
You can try out some Photoshop actions with our Free Photoshop Actions download, and read our tutorial on Batch Processing to expedite your editing process!
2. Exporting
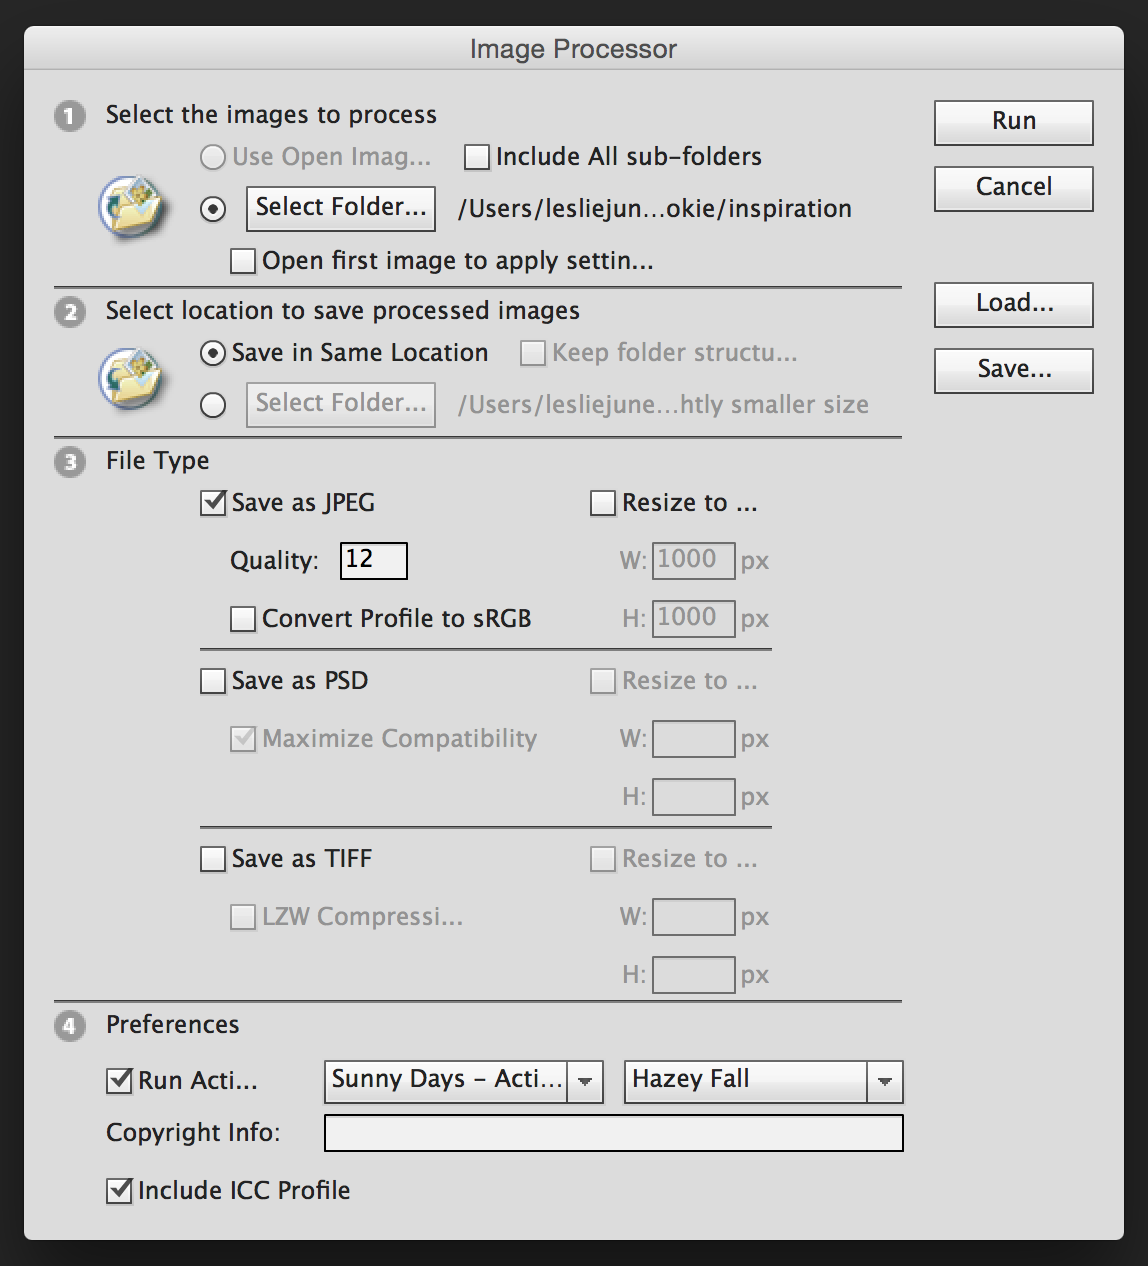
In Photoshop, go to File > Images > Script Processor. From here, you can select photos you want to edit and/or export, along with which folder you want the finished images to save to. You can even select other folders to edit, and save in that same spot. That way all of your photos are edited and saved in one location.
Note: when setting up the Script Processor and changing your settings, do not reduce your image sizes. You'll want high resolution, full-size images to share with any client or family member, or to keep as a backup for yourself.

3. Design your own graphics for your Custom CD Printing

You can easily create your own free graphic designs with our built-in artwork tool, Photopea. Or, take our free templates into Photoshop and submit your finished work.
4. Burn to a Master Disc
Take your folder of finished images and burn them to a Master Disc for CD or DVD burning. Make sure your Master Disc is prepared exactly as you want your finished discs, and that the media of the master disc is of the same type as ordered: CD-R for CD-R, DVD-R for DVD-R, etc.
Then, burn your finished photographs to a master disc.
5. Send in your Master Disc for Data Duplication

- First, purchase your discs with the "duplication" option.
- We'll email you instructions for sending your Master Disc.
- Send us the Master Disc and a completed and signed IPR form.
Note: All master discs must be accompanied with a completed and signed IPR form, and you must hold the copyright or have permission from the copyright holder to make copies.
6. Packaging
Finish off your hard work with protective CD wallets, CD sleeves or jewel cases, or go one step further and design your own custom cd cases.
For more information on preparing discs for data duplication and printing, check out these articles:


